First we skimmed the floating berries off of the top of the tub. Then picked out the big sticks and gunk.
 |
| We used a frying skimmer for this process |
 |
| Yes I understand this is kind of a creepy picture.... |
 |
| No tool in my kitchen is safe from multiple jobs! |
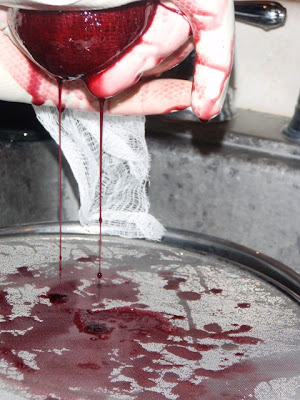
Now it is time to squish some berries! Put a scoop of berries on the center of the cheese cloth and pick up all four corners. Then start to squish out the juice thought the mesh screen and into the pot.
 | |
| Looks kind of weird from this point of view! |
 |
| This is why we use the mesh strainer. As you continue to squish seeds with start to get loose. |
After you have squished all the juice out throw away the pulp.
Then put the juice in a container for storage in the fridge until you need it. We made all of our juice into jelly. I like using Mason jars to store the juice.
Now sit back and admire all of your hard work! It takes four cups of juice to fill a jar and about 12 cups of berries to get that much juice!


0 comments:
Post a Comment